This tutorial will walk you through the process of creating a simple User Account Registration and Login Example with Spring Boot, Spring Security, Spring Data JPA, Hibernate, MySQL, JSP, Bootstrap and Docker Compose
What you'll build
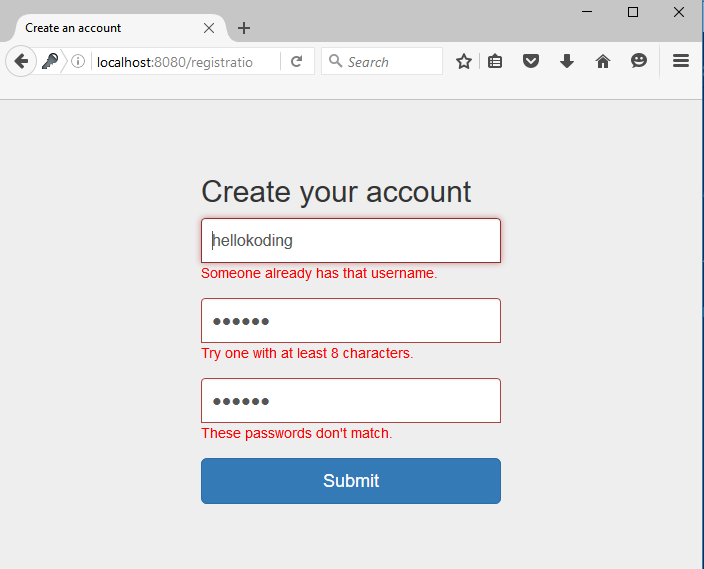
Register account
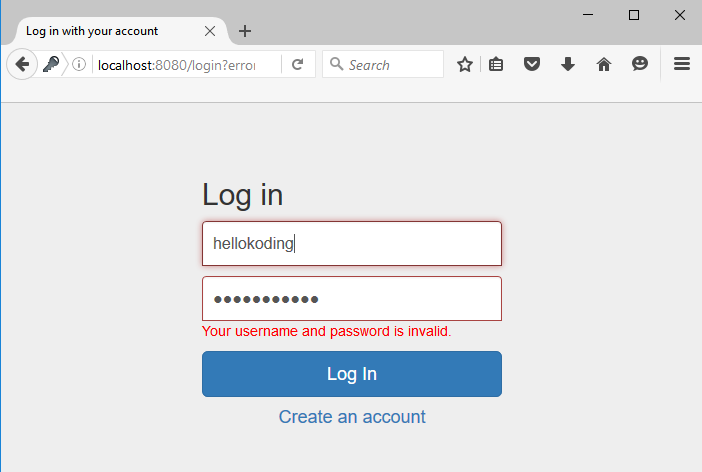
Log in
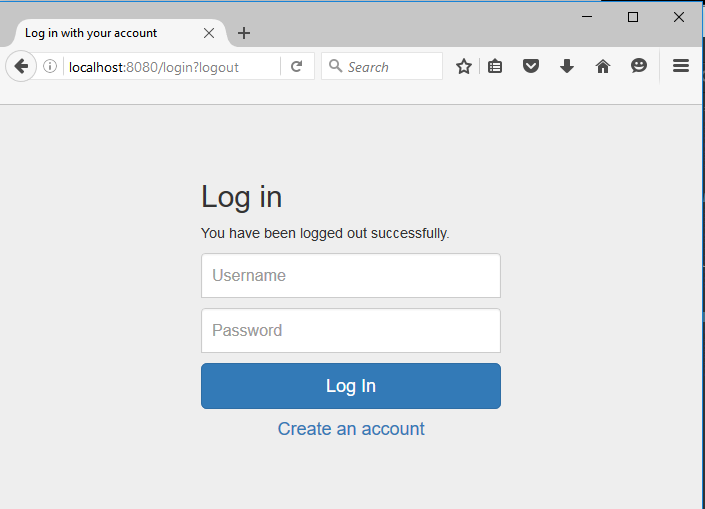
Log out
Welcome
What you'll need
Your local computer should have JDK 8+ or OpenJDK 8+, Maven 3+, MySQL Server 5+ or Docker CE 18+
You should also walk through the following tutorials if you are new to Spring Boot, JSP and Spring Data JPA
Init project structure
You can create and init a new Spring Boot project by using Spring CLI or Spring Initializr. Learn more about using these tools here
The final project structure as below
├── src
│   └── main
│       ├── java
│       │   └── com
│       │       └── hellokoding
│       │           └── auth
│       │               ├── model
│       │               │   ├── Role.java
│       │               │   └── User.java
│       │               ├── repository
│       │               │   ├── RoleRepository.java
│       │               │   └── UserRepository.java
│       │               ├── service
│       │               │   ├── SecurityServiceImpl.java
│       │               │   ├── SecurityService.java
│       │               │   ├── UserDetailsServiceImpl.java
│       │               │   ├── UserServiceImpl.java
│       │               │   └── UserService.java
│       │               ├── validator
│       │               │   └── UserValidator.java
│       │               ├── web
│       │               │   └── UserController.java
│       │               ├── WebApplication.java
│       │               └── WebSecurityConfig.java
│       ├── resources
│       │   ├── application.properties
│       │   └── validation.properties
│       └── webapp
│           ├── resources
│           │   ├── css
│           │   │   ├── bootstrap.min.css
│           │   │   └── common.css
│           │   └── js
│           │       └── bootstrap.min.js
│           ├── login.jsp
│           ├── registration.jsp
│           └── welcome.jsp
├── Dockerfile
├── docker-compose.yml
└── pom.xml
Project dependencies
Define JPA and Hibernate Entities
@Entity is a JPA annotation which specifies the class as an entity (so the class name can be used in JPQL queries)
@Table annotation with the name attribute specifies the table name in the underlying database for the annotated entity. If no @Table is defined, the class name of the entity will be used as the table name
@Id declares the identifier property of the entity
@ManyToMany defines a many-to-many relationship between 2 entities
mappedBy indicates the entity is the inverse of the relationship
Learn more about JPA and Hibernate
Spring Data JPA Repositories
Spring Data JPA Repositories help you reduce boilerplate code required to implement data access layers for various persistence stores such as MySQL and PostgreSQL
They provide some CRUD functions to query, create, update and delete against the underlying database such as findAll, findById, save, saveAll, delete and deleteAll
Define Spring Security's UserDetailsService
To implement login/authentication with Spring Security, we need to implement org.springframework.security.core.userdetails.UserDetailsService interface
Security Service
We create SecurityService to provide current logged-in user and auto login user after registration
User Service
Provide service for registering account
Define Validator
To provide input-data validation for /registration controller with Spring Validator, we implement org.springframework.validation.Validator. Error codes, e.g. Size.userForm.username, are defined by validation.properties
Controllers
We don't define /login POST controller, it is provided by Spring Security
JSP View Templates with Bootstrap
Define Properties
"hk-mysql" refers to the Docker Compose service defined in the below docker-compose.yml file
spring.jpa.hibernate.ddl-auto=create allows JPA/Hibernate auto create database and table schema for you
In practice, you may like to disable the DDL Auto feature by using spring.jpa.hibernate.ddl-auto=validate or spring.jpa.hibernate.ddl-auto=none (default). Check out this tutorial as one of the approaches Flyway Example of Database Migration/Evolution with Spring Boot, JPA and Hibernate
Web Security Configuration
Application Configuration
Run with Docker
Prepare Dockerfile for Java/Spring Boot application and docker-compose.yml for MySQL Server
Type the below command at the project root directory, make sure your local Docker engine is running
docker-compose up
Run with Maven
You can run the app with your local MySQL Server by updating "hk-mysql" on application.properties to "localhost" and type the below command at the project root directory
mvn clean spring-boot:run
Testing time
Access to localhost:8080 and start playing around with the app
Source code
See also
Spring Boot Course In Practice with Hands-On Experienced Tutorials and Examples Series


