This tutorial walks you through the steps of creating Spring Security OAuth2 and OpenId Connect web clients in Spring Boot with Google, Github, Facebook, and Okta
The tech stack
OAuth represents Open Authorization. It is an authorization framework enabling a third-party application to obtain limited access to an HTTP service on behalf of a resource owner
OpenId Connect is built on top of OAuth2 for authentication only. While OAuth2 has no definition on the format of the token, OpenId Connect uses JWT (JSON Web Token)
What you'll build
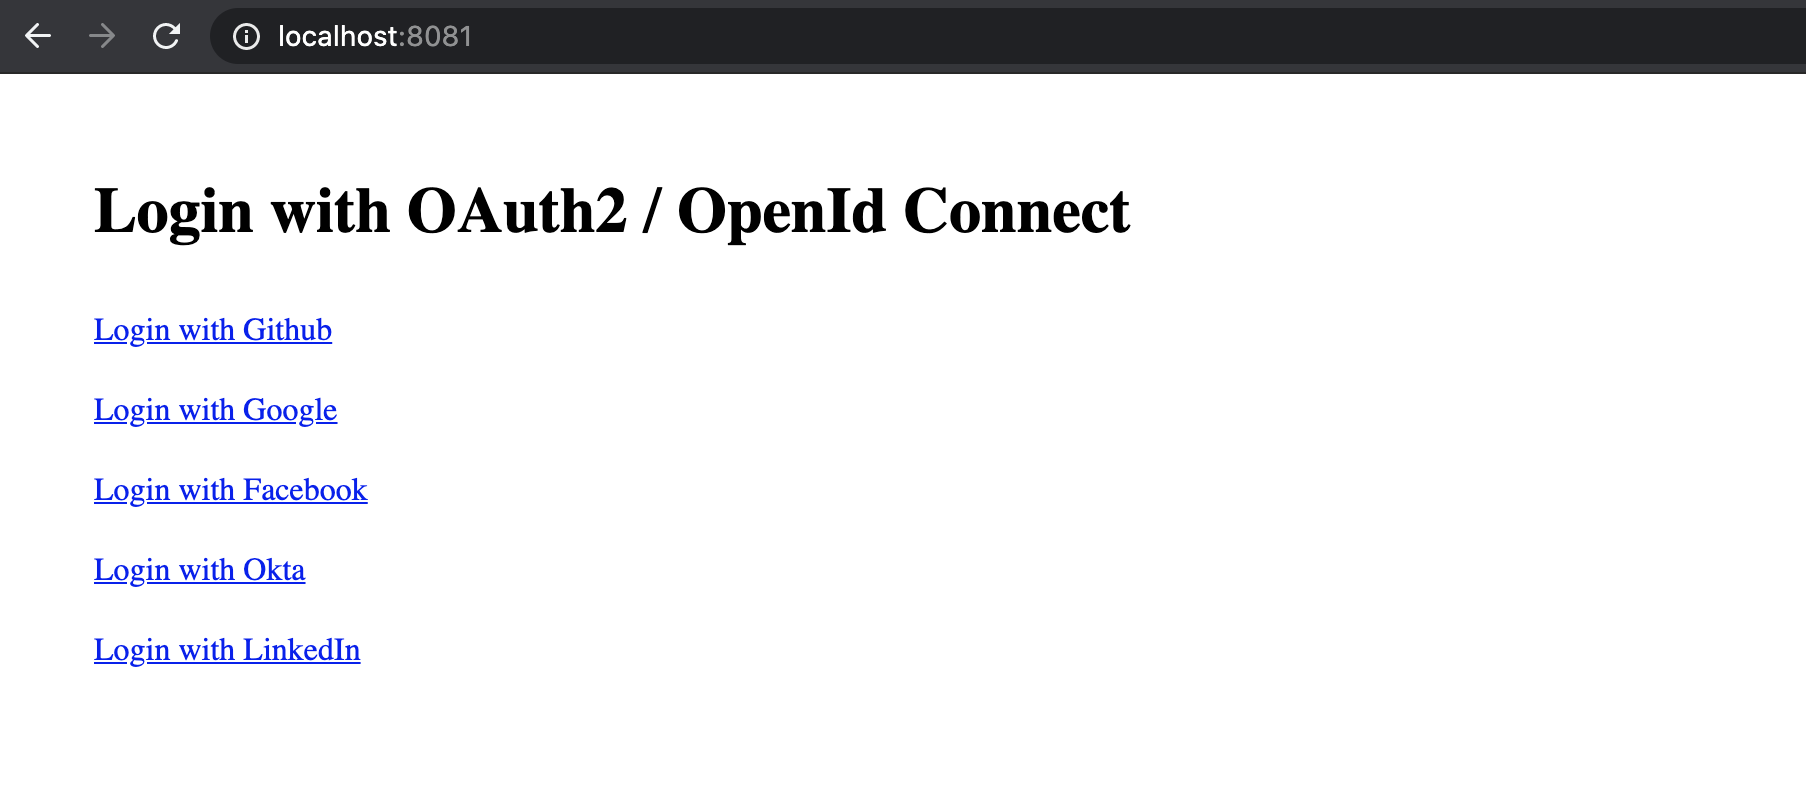
An index page with the options to allow user login to OAuth2 and OpenId Connect providers

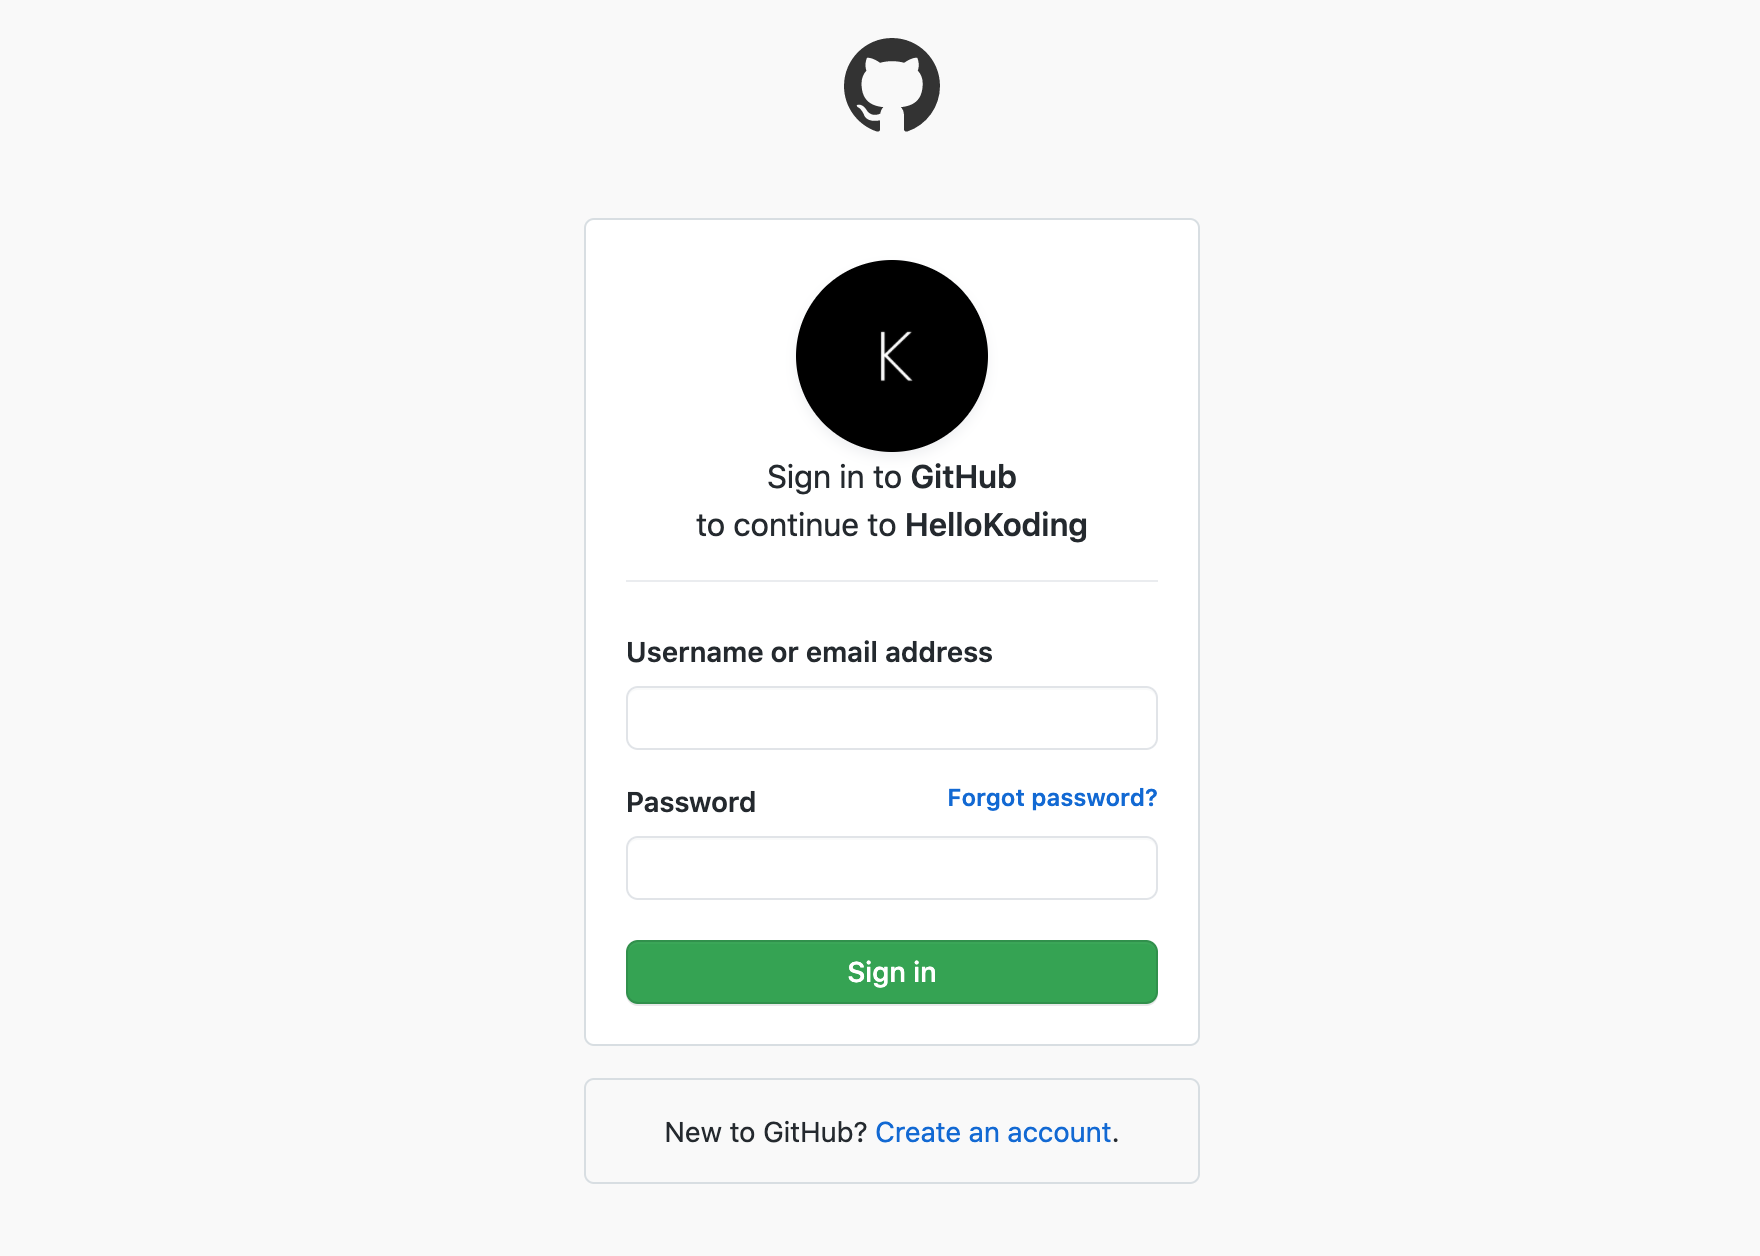
Redirect user to Login form of respective provider when the Login link is clicked

Redirect user back to the index page when user log in successfully, show user full name and the log out function on the same page

When user clicks log out, clear session data and show again the login options
What you'll need
- Your favorite IDE or Editor
- JDK 8+ or OpenJDK 8+
- Maven 3+
Init project structure
Besides using IDE, you can create and init a new Spring Boot project with Spring CLI or Spring Initializr. Learn more about using these tools here
The final project structure as below
├── src
│   └── main
│       ├── java
│       │   └── com
│       │       └── hellokoding
│       │           └── springboot
│       │               └── oauth2
│       │                   └── OAuth2Application.java
│       └── resources
│           ├── static
│           │   └── index.html
│           └── application.properties
└── pom.xml
Project dependencies
Add spring-boot-starter-web and spring-boot-starter-oauth2-client into your project as a dependency on pom.xml or build.gradle file. The library versions can be omitted as it is resolved by the parent pom provided by Spring Boot
<dependencies>
    <dependency>
        <groupId>org.springframework.boot</groupId>
        <artifactId>spring-boot-starter-web</artifactId>
    </dependency>
    <dependency>
        <groupId>org.springframework.boot</groupId>
        <artifactId>spring-boot-starter-oauth2-client</artifactId>
    </dependency>
</dependencies>
The spring-boot-starter-oauth2-client dependency provides auto-configuration for Spring Security OAuth2 Client and Spring Security’s support for the JOSE (Javascript Object Signing and Encryption) framework to securely transfer claims between parties including JWT (JSON Web Token), JWS (JSON Web Signature), JWE (JSON Web Signature) and JWK (JSON Web Key)
You can find the full pom.xml file as below
Required OAuth2 Properties
The following are required properties you need to configure an OAuth2 Client
Client id, client secret and scopes of user data access
Scopes are predefined strings by providers and may be different across them
You need a developer account to create an OAuth2 application on the provider site to obtain client id, client secret, and scopes
Redirect URI for forwarding authorization code and state from server to client
The OAuth client is required to provide the Redirect URI and declare it on the OAuth application. Spring Security provides it for you by default at path {baseUrl}/{action}/oauth2/code/{registrationId}
Provider authorization URI, token URI, and user info URI
You can find provider URIs on its documentation. If the provider supports well-known metadata, Spring Security can explore them via an issuer URI
Configure OAuth2 Properties in Spring Boot
Spring Boot provides auto-configure most of OAuth2 properties for common providers
With Github, Google, Facebook providers, you are only required to fill in the client id and client secret
With Okta, you need to provide issuer URI as an additional property
With other providers, LinkedIn for example, you have to provide all the required properties
Configure Spring Security
Create a class and extends WebSecurityConfigurerAdapter to configure security for your application
The authorizeRequests(...) method permits home page request but requires authentication for any other URIs
The csrf(...) method generates a CSRF token cookie with an HttpOnly flag as false to allow access from JavaScript. You can find more details in the web client implementation below
The logout(l -> l.logoutSuccessUrl("/").permitAll()) provides a log out GET end point at '/logout' URI and redirect to home page after success
The oauth2Login(...) enables the OAuth2 flow and redirects user to home page after the flow succeed
Create OAuth2 user controller
Create a GET REST API endpoint for retrieving authenticated user info
Create OAuth2 web clients
Create index.html file inside src/main/resources/static
Spring Security provides the login endpoint to OAuth2 service at /oauth2/authorization/{registrationId} URI with the {registrationId} defined in the above application.yml
In index.html, we defined login to Github, Google, Facebook, Okta, and LinkedIn options with a link point to /oauth2/authorization/github, /oauth2/authorization/google, /oauth2/authorization/facebook, /oauth2/authorization/okta, and /oauth2/authorization/linkedin URIs respectively
For CSRF protection, Spring Security compares the token value of XSRF-TOKEN cookie and X-XSRF-TOKEN header. If they are matched then it's safe to go
Create Spring Boot application entry point
Create OAuth2Application.java as a Spring Boot application entry point
Run and Test
You can run the application by typing the following command on the terminal console at the project root directory
$ mvn clean spring-boot:run
Access to localhost:8081 on your web browser to explore the app
Troubleshooting
Spring Security OAuth2 can help you to ease the integration process with providers that compatible with the OAuth2 specification. However, when they don't, as of Spring Security 5.2, it's not easy to provide customization like other libraries, ScribeJava for example
LinkedIn OAuth2 service returns the access token response without token_type as defined in spec. You can customize MessageConverter of RestTemplate to resolve the issue https://github.com/spring-projects/spring-security/issues/8598
For the OAuth2 services running behind Cloudflare, Discord, for example, a user-agent header is required when sending HTTP requests to them https://github.com/spring-projects/spring-security/issues/4958
