ScribeJava is an OAuth library for Java that helps you to ease the process of adding Login options for a user to OAuth2 and OpenId Connect providers such as Github, Google, Facebook, LinkedIn, and Discord. When comparing with Spring Security OAuth2, ScribeJava has a different approach for configuring custom providers
In Spring Security OAuth2 and Spring Boot, you can add a new Login option by configuring only some properties in application.properties or application.yml for the providers that follow the the OAuth2 specification. However, when they don't, it is required you to deep dive into Spring Security to provide the customization
On the other side, ScribeJava tries to work for all providers and offers built-in configuration classes for each provider, separately. Furthermore, you are not required to make a deep dive, adding a new configuration for a custom provider is pretty straight forward and clean
This tutorial will walk you through the steps of creating OAuth2 and OpenId Connect web clients example with the Login options to Github, Google, Facebook, Okta, LinkedIn, and Discord in Spring Boot and ScribeJava. We will try to bring the best feature of Spring Security OAuth2 auto-configuration in Spring Boot into this implementation. Apart from that, the user session will be managed in Redis instead of application server memory as in practice, your application will be run in a distributed mode with 2 or more instances reside behind a load balancer
OAuth2 and OpenId Connect
OAuth represents Open Authorization. It is an authorization framework enabling a third-party application to obtain limited access to an HTTP service on behalf of a resource owner
OpenId Connect is an extension of OAuth2 and designed for authentication only. While OAuth2 has no definition on the format of the token, OpenId Connect uses JWT (JSON Web Token)
What you'll build
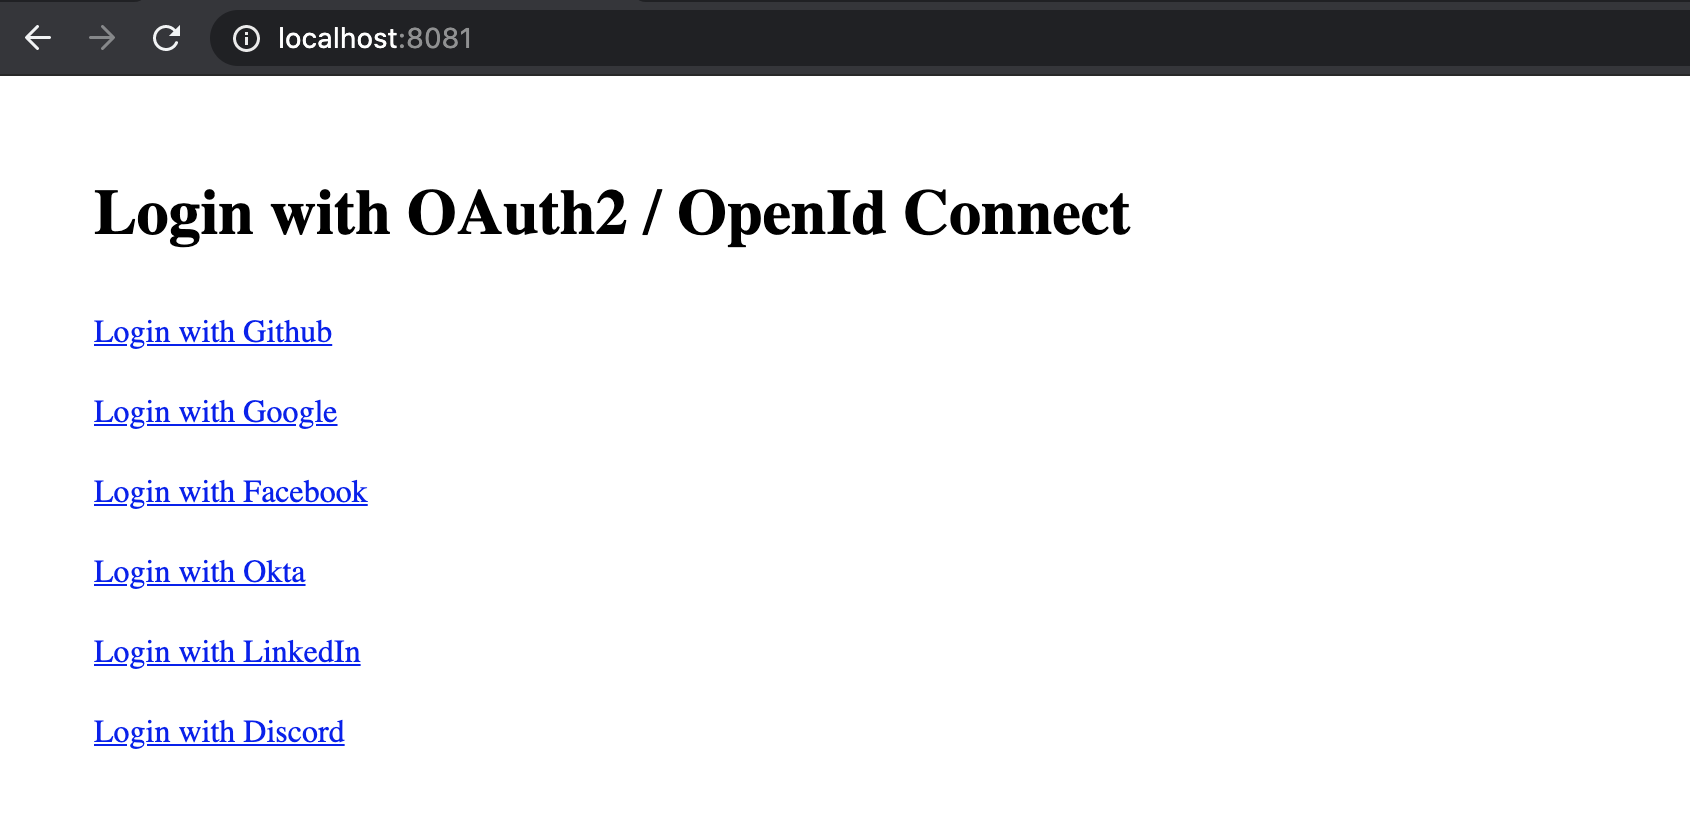
An index page with the options to allow user login to OAuth2 and OpenId Connect providers

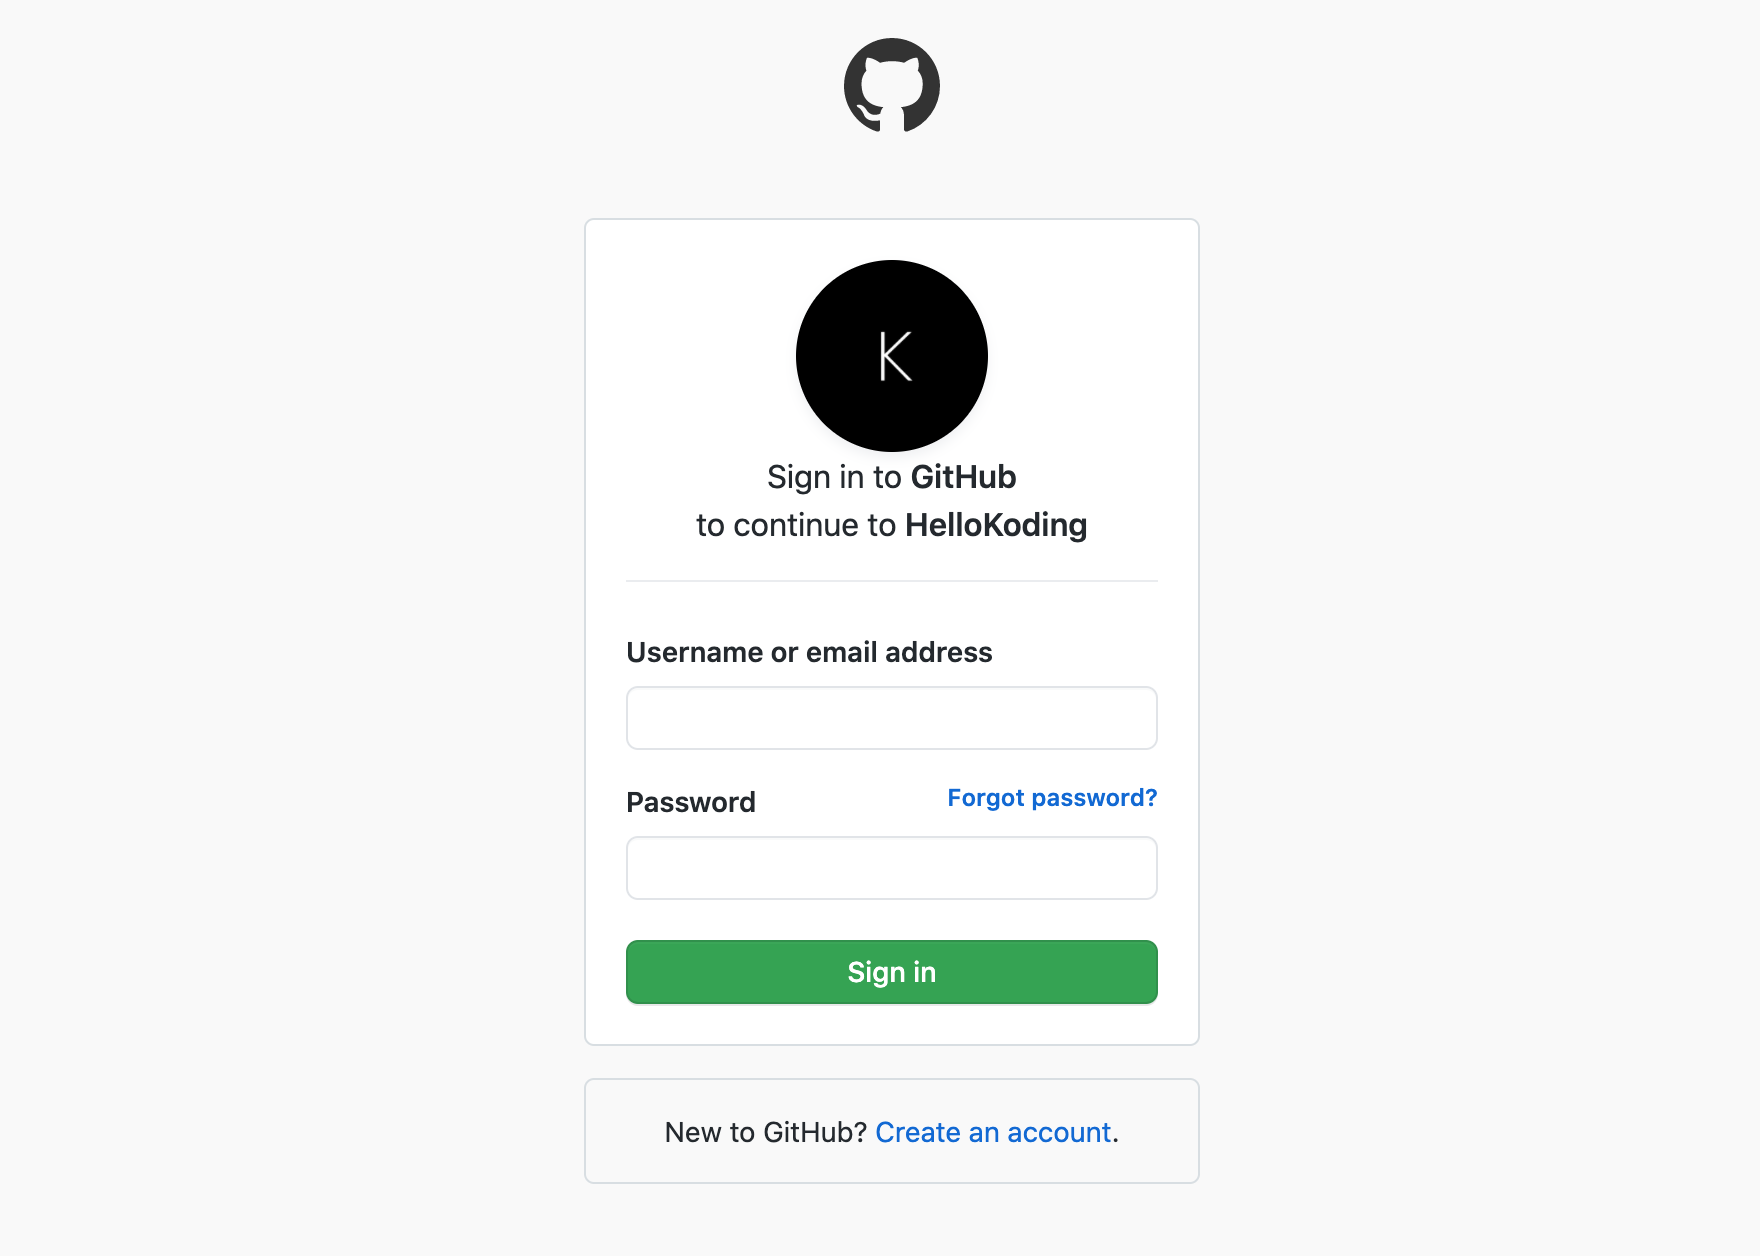
Redirect user to Login form of the respective provider when the Login link is clicked

Redirect user back to the index page when logging in successfully, save session data into Redis, show user full name and the logout function on the same page

When a user clicks log out, clear Redis session data, trigger the revoke token API of the provider if available, and show again the login options
What you'll need
- Your favorite IDE or Editor
- JDK 8+ or OpenJDK 8+
- Maven 3+
- Redis Server
Init project structure
Besides using IDE, you can create and init a new Spring Boot project with Spring CLI or Spring Initializr. Learn more about using these tools here
The final project structure as below
├── src
│   └── main
│       ├── java
│       │   └── com
│       │       └── hellokoding
│       │           └── springboot
│       │               └── oauth2
│       │                   ├── OAuth2Application.java
│       │                   ├── OAuth2Controller.java
│       │                   ├── OAuth2Properties.java
│       │                   ├── OAuth2ServiceFactory.java
│       │                   ├── RedisConfig.java
│       │                   ├── SecurityFilter.java
│       │                   └── UserSessionInRedis.java
│       └── resources
│           ├── static
│           │   └── index.html
│           └── application.yml
└── pom.xml
Project dependencies
Add spring-boot-starter-web and scribejava-apis into your project as a dependency on pom.xml or build.gradle file
<dependency>
    <groupId>org.springframework.boot</groupId>
    <artifactId>spring-boot-starter-web</artifactId>
</dependency>
<dependency>
    <groupId>com.github.scribejava</groupId>
    <artifactId>scribejava-apis</artifactId>
    <version>6.9.0</version>
</dependency>
As we manage user session in Redis, spring-boot-starter-data-redis dependency is also required
<dependency>
    <groupId>org.springframework.boot</groupId>
    <artifactId>spring-boot-starter-data-redis</artifactId>
</dependency>
And last but not least, add lombok dependency for reducing boilerplate code when you define POJO classes and constructors
<dependency>
    <groupId>org.projectlombok</groupId>
    <artifactId>lombok</artifactId>
</dependency>
You can find the full pom.xml file as below
Required OAuth2 Properties
The following are required properties you need to configure an OAuth2 Client
Client id, client secret, and scopes of user data access
Scopes are predefined strings by providers and may be different across them
You need a developer account to create an OAuth2 application on the provider site to obtain client id, client secret, and scopes
Redirect URI for forwarding authorization code and state from server to client
The OAuth client is required to provide the Redirect URI and declare it on the OAuth application. We will define a controller to handle the redirect response in the latter part of this tutorial. It will follow the same format as in Spring Security: {baseUrl}/{action}/oauth2/code/{registrationId}
Provider authorization URI, token URI, and user info URI
You can find provider URIs on its documentation
Implement Auto-Configuration for OAuth2 Properties
We use ConfigurationProperties in Spring Boot to bind external properties from application.yml file into a Java class
The core part of ScribeJava is OAuth20Service. It is a service class that executes all of the operations against an OAuth2 or OpenId Connect provider
OAuth20Service requires an instance of DefaultApi20, an object contains all of the provider endpoints such as Authorization, Access token, and User info URIs. Moreover, other important properties of an OAuth2 client are also required like Client id, Client secret, and Redirect URI
In the following, we define OAuth2Api and OAuth2ServiceFactory. OAuth2Api is extended from DefaultApi20. OAuth2ServiceFactory is used to create an OAuth20Service object
OAuth2ServiceFactory follows the Factory design pattern. It can create different kinds of OAuth2Service respect with multiple providers. It is based on a serviceId parameter to collect the respective OAuth2 client and provider properties which are provided by OAuth2Properties and OAuth2Api
Manage user session with Redis
When you included spring-boot-starter-data-redis dependency, Spring Boot will provide a RedisTemplate bean which can be used for executing operations against Redis. By default, the RedisTemplate will use JdkSerializationRedisSerializer for serializing the data key which can cause trouble when you need to search a key in Redis later. So here we define another RedisTemplate bean to use a StringRedisSerializer instead
Moving forward, we will define a class that leverage the above RedisTemplate to create APIs for saving, getting, and invalidating user session data
The user session data key is built based on HttpServletRequest session id. When invalidating a session, we need to expire all data key in Redis started with that session id. We also expire the JSESSIONID cookie and invalidate the current HttpServletRequest session object
Define controllers for handling OAuth2 requests and responses
This is the core part of our implementation. We are going to wire all the components together to create a web controller for serving OAuth2 requests and responses
In the following, we will define 4 controllers for handling the login request, receiving authorization code from OAuth2 provider, retrieving current authenticated user info, and a logout function to invalidate the current user session and trigger the revoke token API of the provider
The oauth2Login method defines a login controller at /oauth2/authorization/{serviceId} URI The {serviceId} value can be "github", "google",...mapped with our definition in application.yml file
The state parameter is used to provide the CSRF protection which you will see in the later controller
oAuth2ServiceFactory.getService(serviceId) creates if not existing and returns an OAuth2Service which is used to build authorization URL to the respective provider
The oauth2Code method defines a controller at /login/oauth2/code/{serviceId} URI for receiving authorization code from provider. That URI is mapped with the redirectUri defined in application.yml and with the redirect URI you entered into OAuth2 application on the provider site
The code parameter is mentioned in the above authorization code
The state parameter is returned by the provider so we can compare it with the original state created by the login controller. If they are not matched, probably it is a CSRF attack, hence 401 status should be returned to user
Now we have the code, we can use it to exchange access token via oAuth20Service.getAccessToken(code) and start to take the returned access token to consume provider APIs such as user info
To conclude the method, we save user info into Redis so it can be reused for subsequence requests
The user method defines a controller at /user URI for retrieving current authenticated user info. userSession.get(KEY_USER) get the data from Redis and return it to user
The logout method defines a controller at /logout URI for serving the log out function. It executes the revoke token API of provider the invalidate the Redis session with userSession.invalidate()
Not all providers offer the revoke token API. You can check their documentation for more details. Facebook provides a revoke permission API instead when trigger it, the OAuth2 app of Facebook will ask user again for granting permission to our application in the next login
Create OAuth2 web clients
Create index.html file inside src/main/resources/static to define OAuth2 web clients
In index.html, we defined login to Github, Google, Facebook, Okta, LinkedIn, and Okta options with a link point to our login controller /oauth2/authorization/github, /oauth2/authorization/google, /oauth2/authorization/facebook, /oauth2/authorization/okta, /oauth2/authorization/linkedin, /oauth2/authorization/discord URIs respectively
For CSRF protection for the logout request from web users, we compare the token value of XSRF-TOKEN cookie and X-XSRF-TOKEN header. If they are matched then it's safe to go. The security logic is defined in SecurityFilter
Create Spring Boot application entry point
Create OAuth2Application.java as a Spring Boot application entry point
Run and Test
You can run the application by typing the following command on the terminal console at the project root directory, make sure your Redis server is ready on local
$ mvn clean spring-boot:run
Access to localhost:8081 on your web browser to explore the app
Conclusion
That's it, folks! We created a practical example of adding Login to OAuth2 and OpenId Connect options in Spring Boot by using ScribeJava. The user session is managed by Redis instead of server memory. Adding a new provider is super fast with some lines of settings in the application.yml
You can find the complete source code at https://github.com/hellokoding/hellokoding-courses/blob/master/springboot-examples/scribejava-oauth2
